How to Install a ZOLL AED Cabinet Instructions
Installing a ZOLL AED cabinet is a key step in ensuring your ZOLL AED Plus, ZOLL AED 3, or Physio-Control LIFEPAK helps to respond during a sudden cardiac arrest emergency.
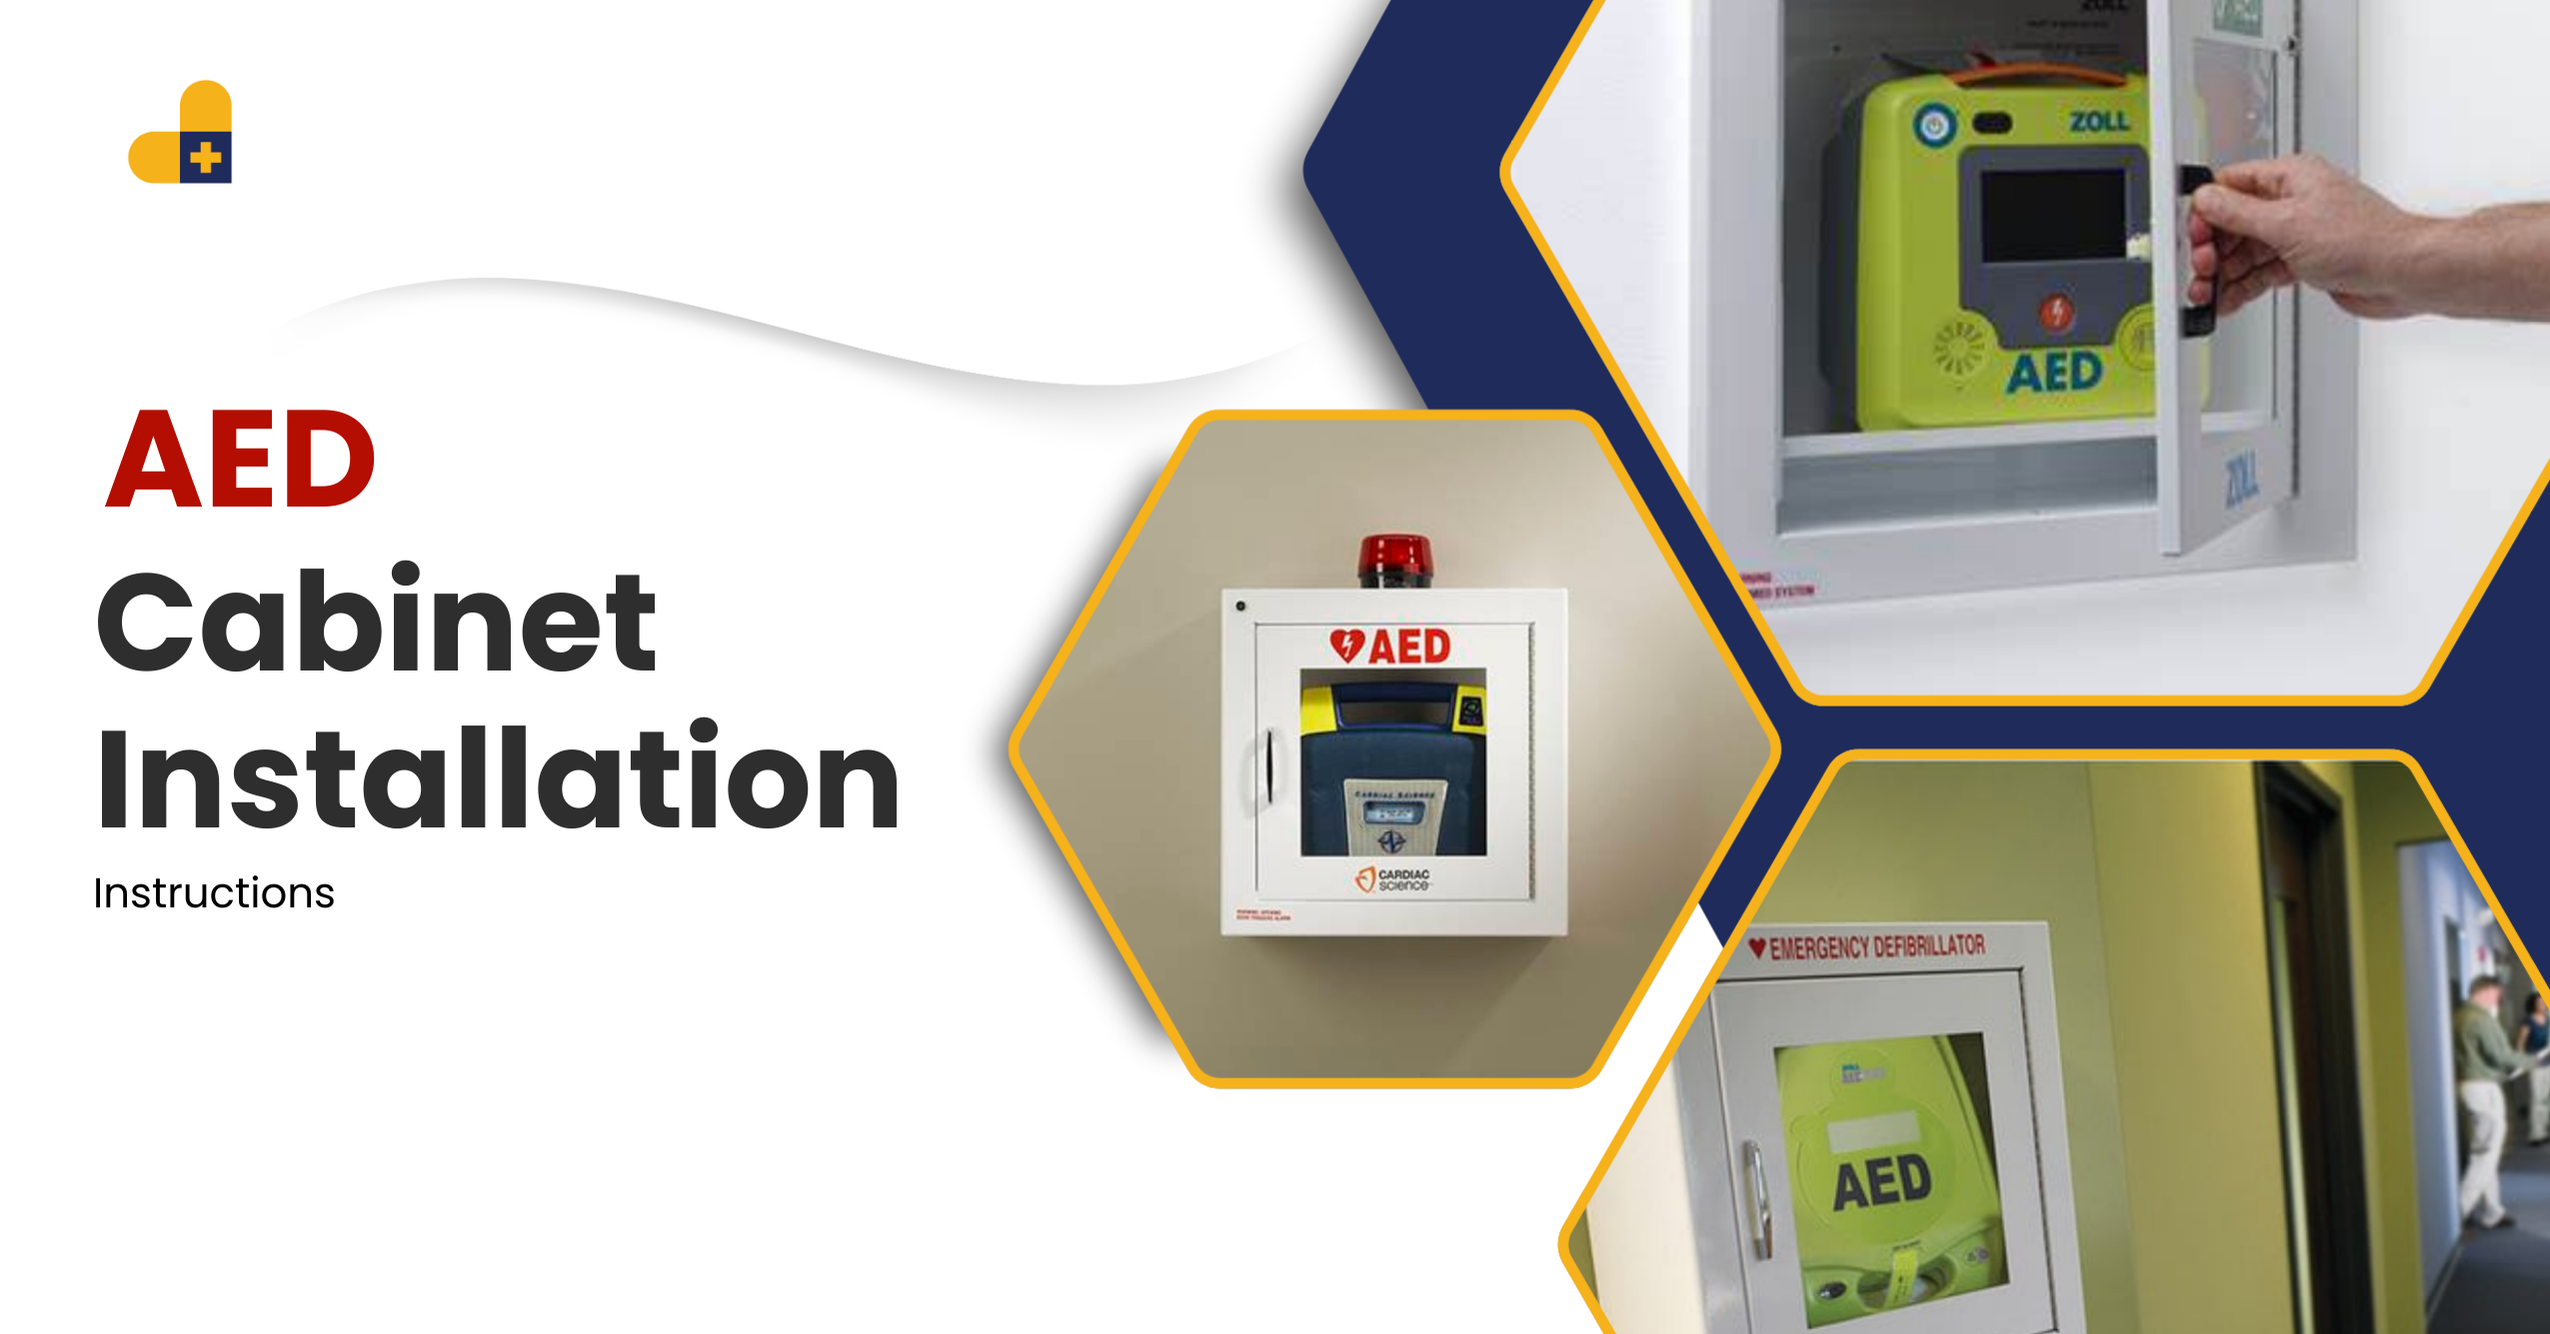
A securely mounted AED wall cabinet with alarm and strobe not only protects your defibrillator but also ensures it’s visible, accessible, and compliant with safety regulations.
Whether you’re setting up a ZOLL 3 BLS or a similar model, this step-by-step guide will help you install it safely and correctly.
Explore our full range of ZOLL AED Cabinets – find the perfect fit for your facility.
Why Do You Need to Install an AED Wall Cabinet?
1. Better Visibility
A wall-mounted automated external defibrillator (AED) cabinet makes your device easy to spot in schools, gyms, offices, or public spaces. This visibility ensures a faster response in the event of a sudden cardiac arrest (SCA).
2. Improved Security
The built-in alarm system helps prevent tampering and alerts nearby people when the AED is accessed during an emergency.
3. Easy Accessibility
By installing your ZOLL AED Plus defibrillator or LIFEPAK CR2 AED at the right height, you make sure help is always within reach when every second counts.
4. Compliance with Safety Standards
Most workplace safety regulations, including OSHA and AED program compliance guidelines, require that defibrillators be stored in designated cabinets.
Compare ZOLL AED Cabinet Models : ZOLL AED 3 Semi Automatic vs ZOLL AED Fully Automatic vs ZOLL AED with ECG Display & CPR Dashboard

Order your ZOLL AED Cabinet today and ensure your AED is always ready.
What Tools and Materials Are Needed for AED Cabinet Installation?
To properly install a ZOLL AED cabinet, gather the following tools and materials:
- Power drill with bits for wall mounting
- Level for accurate alignment
- Anchors and screws (usually included)
- Pencil or marker for placement
- Safety glasses and gloves
How to Install a ZOLL AED Cabinet on the Wall (Step-by-Step)
Step 1: Choose the Right Location
Place your AED wall cabinet in an evident and central location, ideally near high-traffic areas such as lobbies, hallways, gyms, or cafeterias.
Maintain an ADA-compliant mounting height of about 48 inches (4 feet) from the floor to the handle.
Step 2: Mark Mounting Holes
Hold the cabinet against the wall, ensure it’s level, and mark the screw holes with a pencil.
Step 3: Drill Pilot Holes
Use the correct drill bit for your wall type:
- For drywall, use heavy-duty anchors
- For concrete or brick, use masonry anchors
Step 4: Secure the Cabinet
Align the cabinet with your marks and insert screws through the mounting holes. Tighten securely and check stability.
Step 5: Connect the Alarm and Strobe (If Applicable)
The ZOLL-CB2-LS model comes with an alarm and strobe light system.
Insert the provided batteries or connect the unit to building power.
Test by opening and closing the cabinet door to confirm functionality.
Step 6: Place the AED Inside
Carefully insert your ZOLL AED Plus, ZOLL AED 3, or Physio-Control LIFEPAK CR2 inside the cabinet.
Make sure the CPR-D Padz, Pedi Padz II, or Stat Padz II are not expired.
Include a rescue kit (scissors, gloves, and a mask) inside the cabinet for quick response.
How Often Should You Maintain or Check Your AED Cabinet?
To ensure your AED remains fully functional:
- Test the alarm system once a month.
- Check AED status indicators weekly (ZOLL and LIFEPAK models include readiness lights).
- Replace pads and batteries before expiration dates.
- Keep your AED program compliance records up to date.
Which AED Models Are Compatible with the ZOLL AED Cabinet?
The ZOLL cabinet is compatible with several defibrillator models, including:
- ZOLL AED Plus Defibrillator (semi-automatic and fully automatic)
- ZOLL AED 3 Defibrillator
- ZOLL AED Pro
- Physio-Control LIFEPAK CR Plus AED
- Physio-Control LIFEPAK CR2 AED
- LIFEPAK 1000 AED
Frequently Asked Questions About ZOLL AED Cabinet Installation
How high should an AED cabinet be mounted?
The recommended height is 48 inches from the floor to the handle for ADA compliance.
Can I install a ZOLL AED cabinet myself?
Yes, installation is simple if you follow the manufacturer’s guide and use the proper tools.
Does the cabinet alarm connect to building security systems?
Some ZOLL cabinet models can integrate with facility alarm systems for extra security.
What’s the best location for an AED cabinet in the workplace?
Install your AED in high-traffic, easily accessible areas, ideally where employees gather most.
Get exclusive deals on ZOLL AED Cabinets
Final Thoughts
Installing a ZOLL AED cabinet with an alarm is a vital yet straightforward safety step.
By following these installation instructions, you’ll ensure your ZOLL AED Plus, ZOLL AED 3, or Physio-Control LIFEPAK defibrillator is secure, compliant, and ready to save a life when it matters most.


